Export VMF
This section details the initial process of exporting your CSV file from D365 F&O, as early as possible, in order to be validated by Eftsure, while the projects gets underway. VMF verification can take a few weeks depending on the number of suppliers, and therefore should be started as early as possible in order not to delay go live.
2 methods are described in this document, using Eftsure inside D365 or using Data Management and Standard D365 features.
Eftsure inside D365
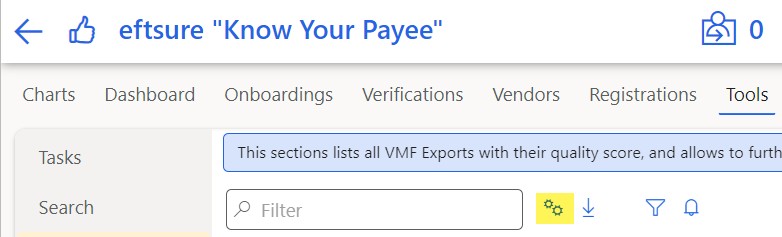
If Eftsure inside D365 is installed in your environment, go to the Eftsure Workspace, Tools > Export > VMF Export, click the  Export icon to open the VMF Export dialog box which lets you choose which vendors to export.
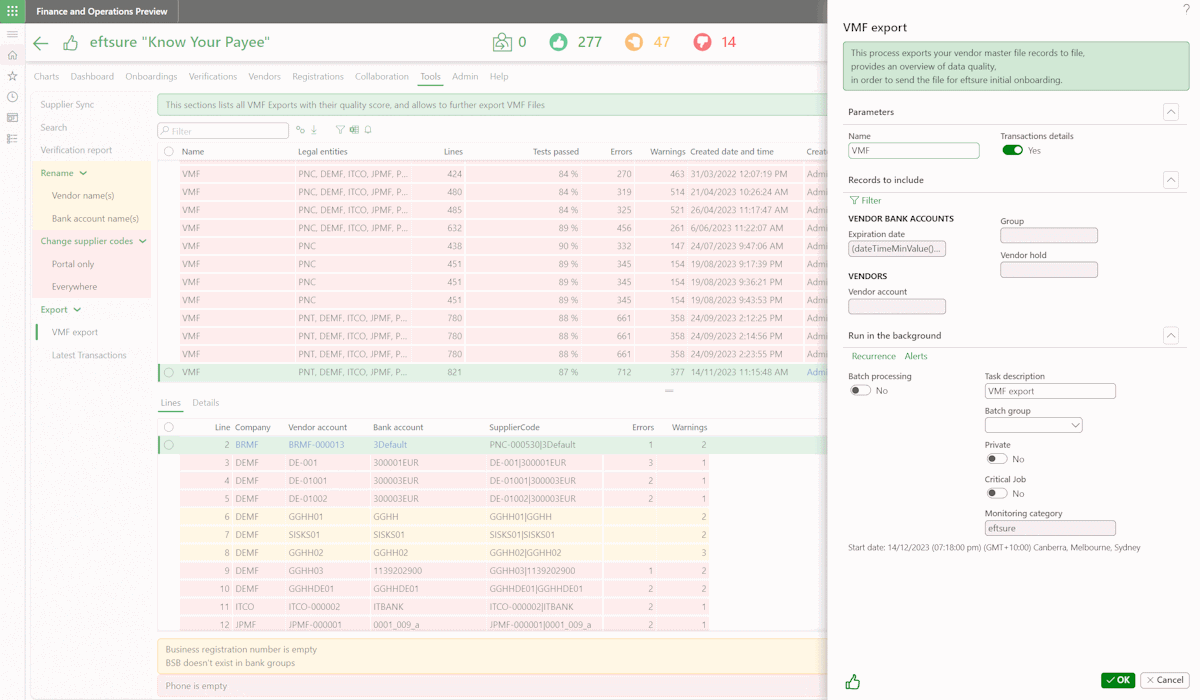
Use the Transaction details checkbox to include the last invoice details into the export.
This tool allows you to export multiple VMFs and monitor the quality of the output.
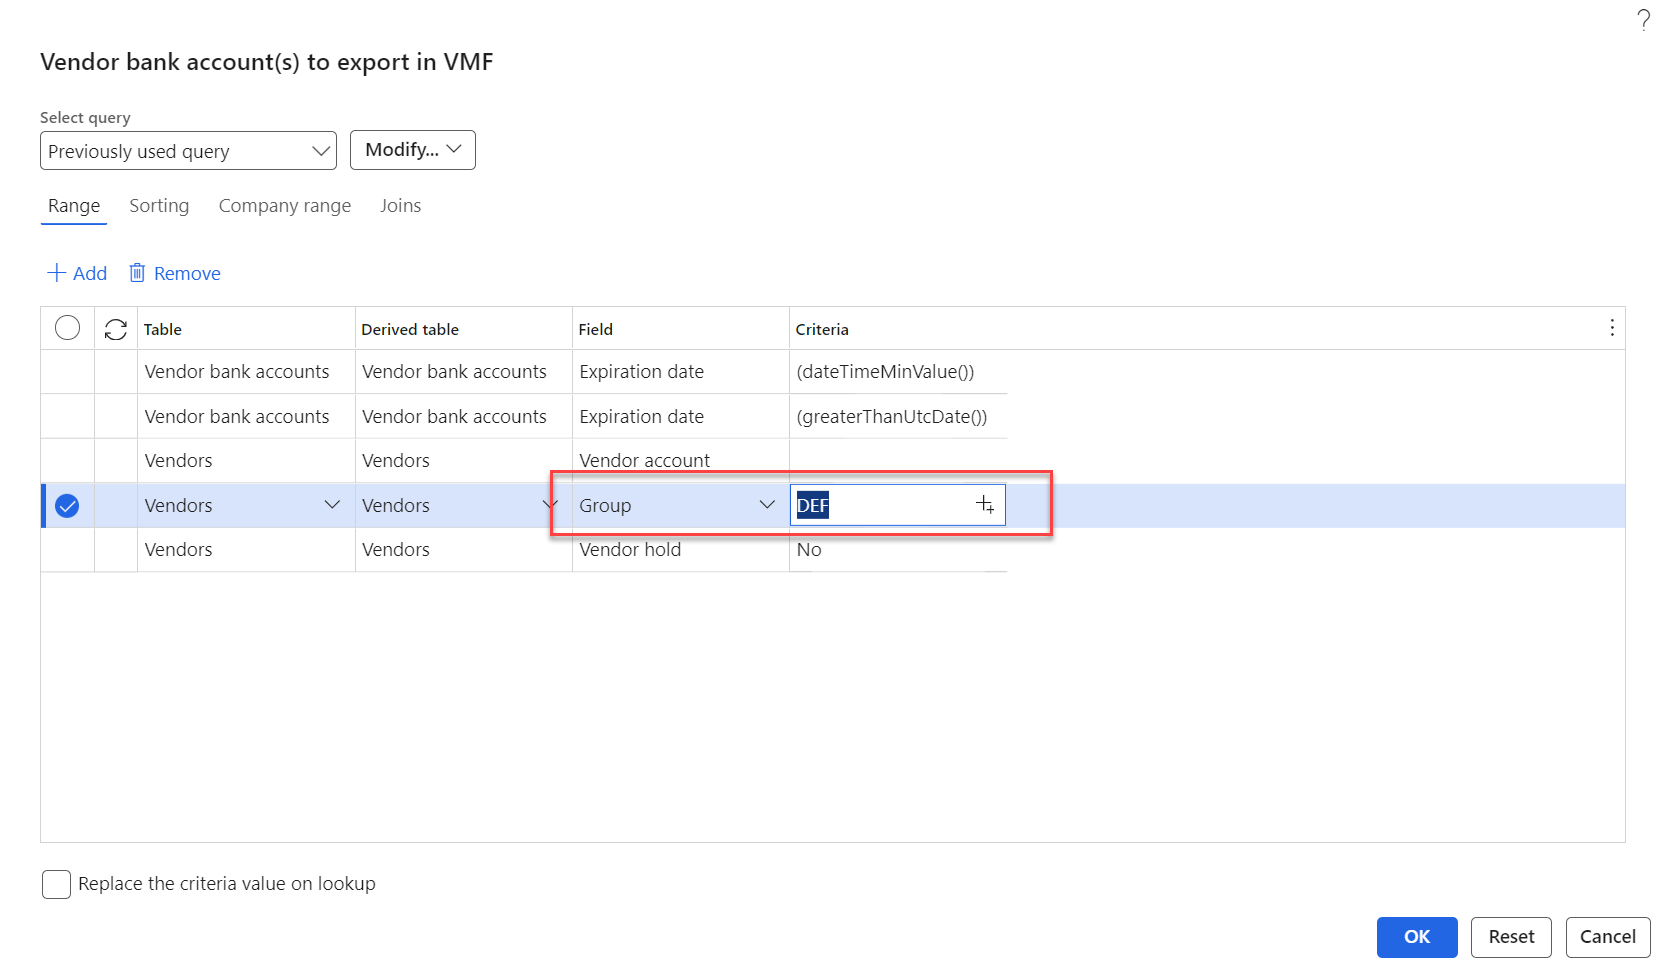
Using Filter function to include more criteria in the query.
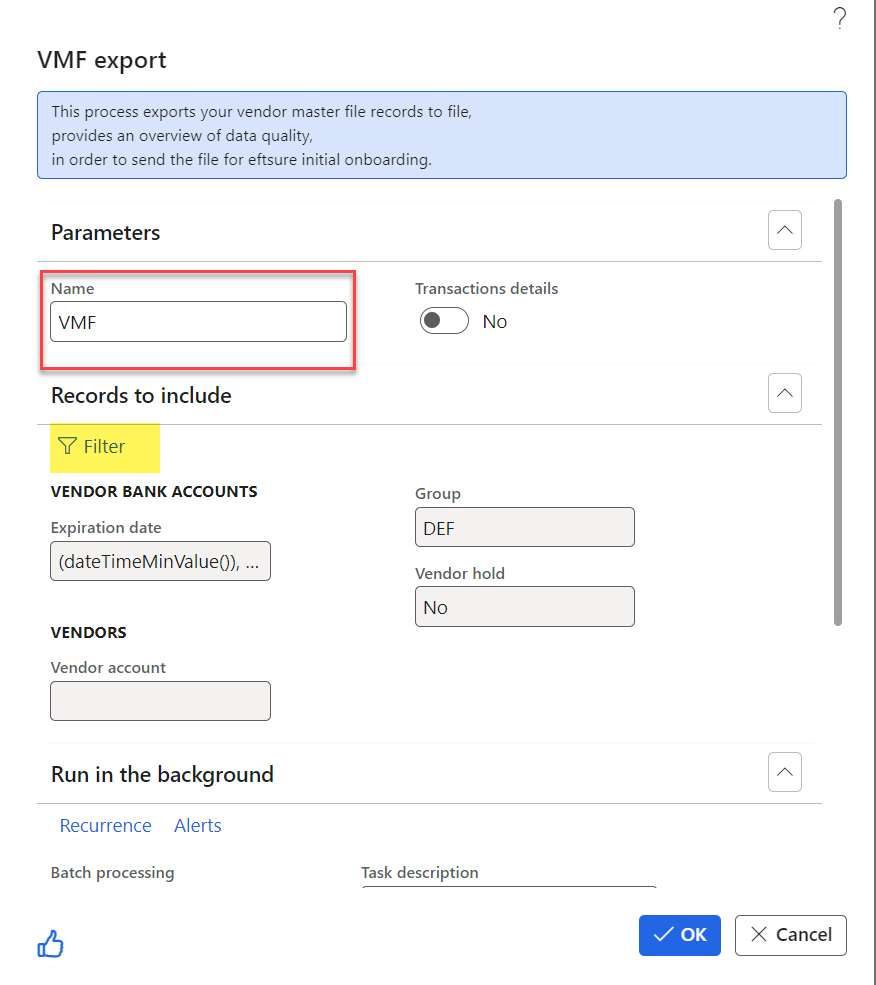
System admin can either select all or filter by only included vendor group or vendor account.
By default, all companies will be selected or user can select only Eftsure enabled legal entity to improve the performance.
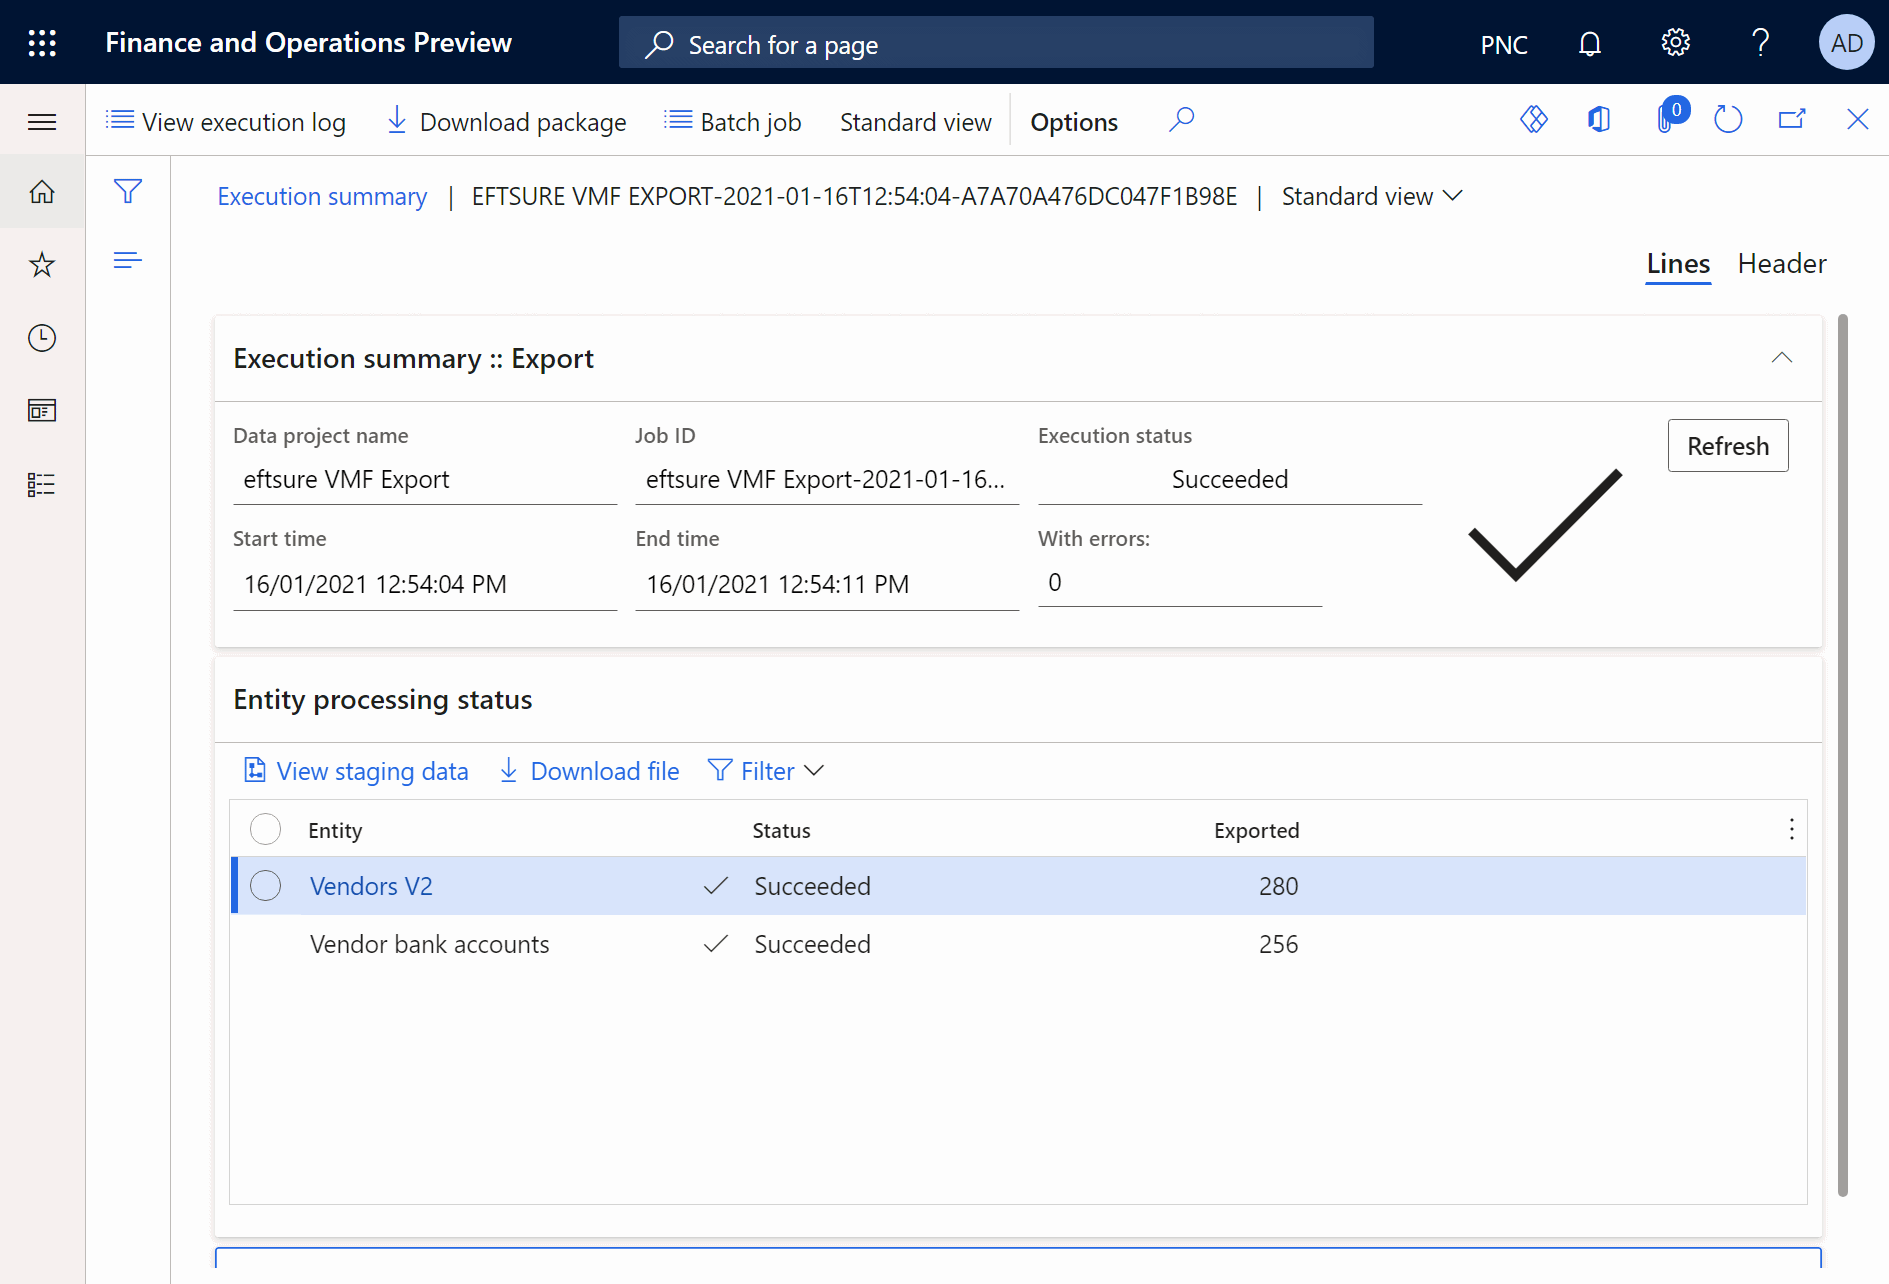
Once the batch is completed, user will be able to review the error as well as export to excel.

Details for each line can be found on Details tab.

[Common error:] missing mandatory fields mainly BSB, bank account, email, phone etc
File can be extracted to Excel for further investigation using standard D365 function.

Review data and ensure all mandatory fields reflected correct info. For existing vendors with 9999XXX ABN, if business wishes to turn on ABN & GST lookup and validation, any changes made to those vendors will have an error.

Suggest to delete dummy ABN, either input a valid ABN or leave ABN field blank to avoid same error.
Data management
Data management template
You can download our DMF template from here
Data management template import
Go to the Data management workspace and hit the Templates tile.
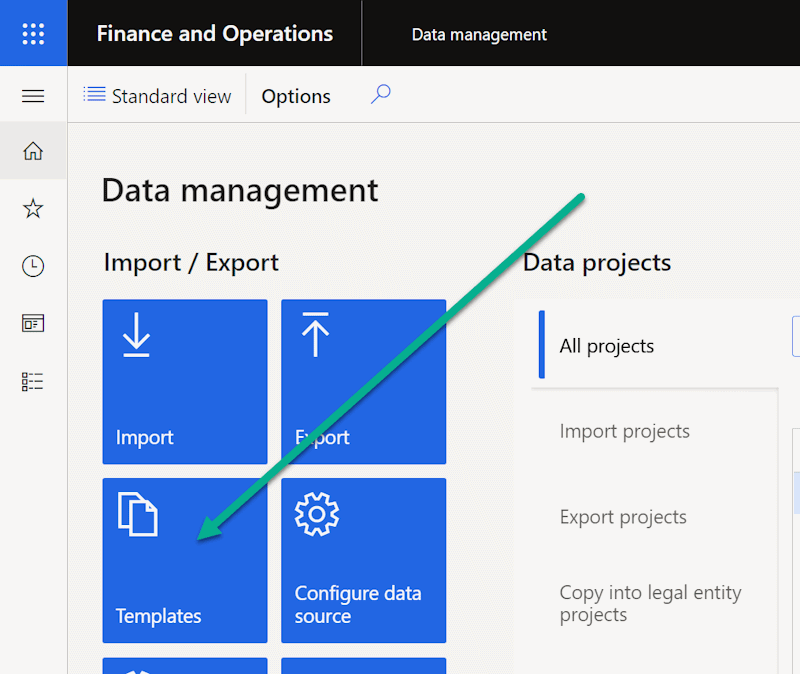
The following Data templates form will be displayed, hit the Import template button, and Browse to the 'Eftsure VMF' template stored previously, then hit Create template.

After a short time, a new PES VMF template has been imported into the system, and is ready to be used for exporting your VMF.

VMF Export using data package
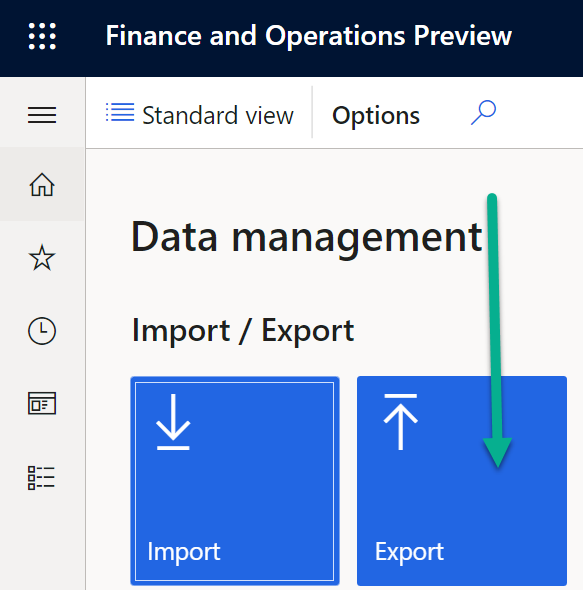
Go to the Data management workspace and hit the Export tile to create a new export.
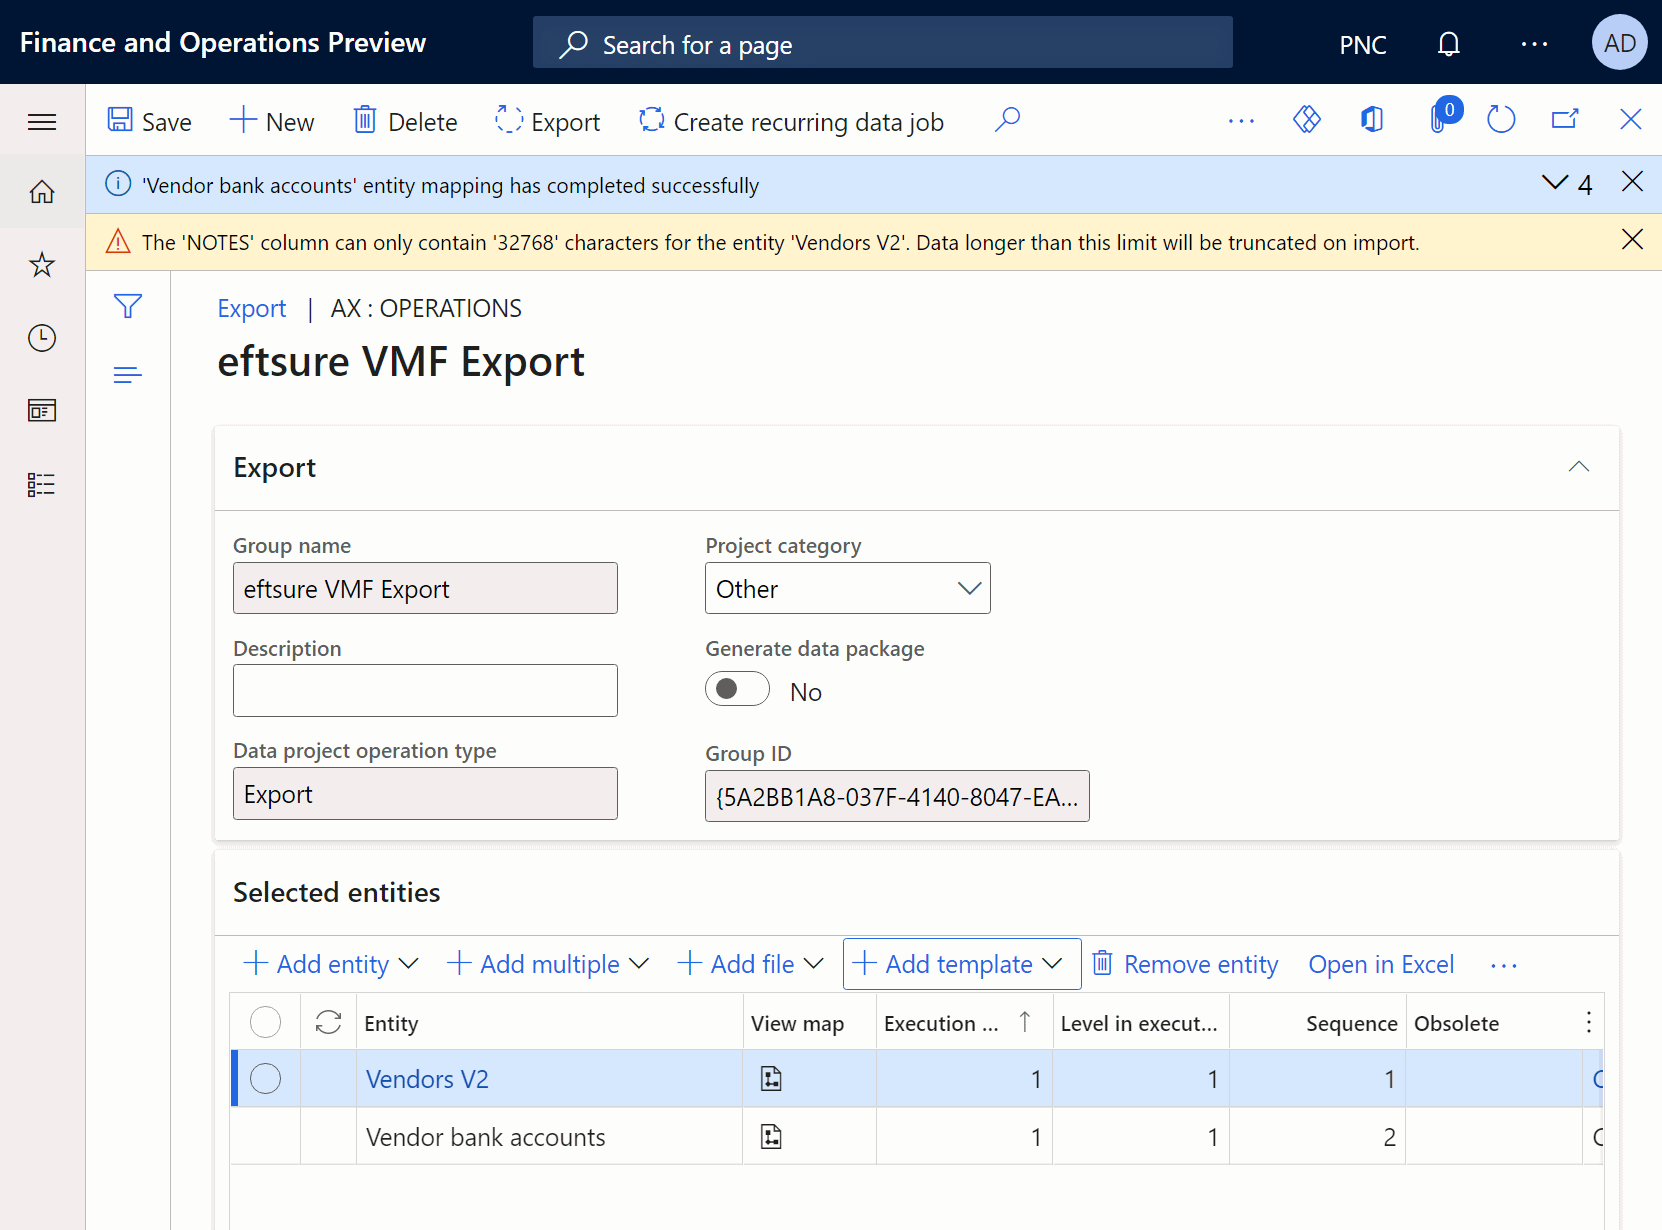
The following Data export form will be displayed, hit the New button and enter a Group name, such as 'Eftsure VMF Export', select Project Category = Other.
Once the header is complete, hit the Add template button, and select the new PES VMF template as source, then Click OK.

Disregard the warning as the Notes field is not used during this export:
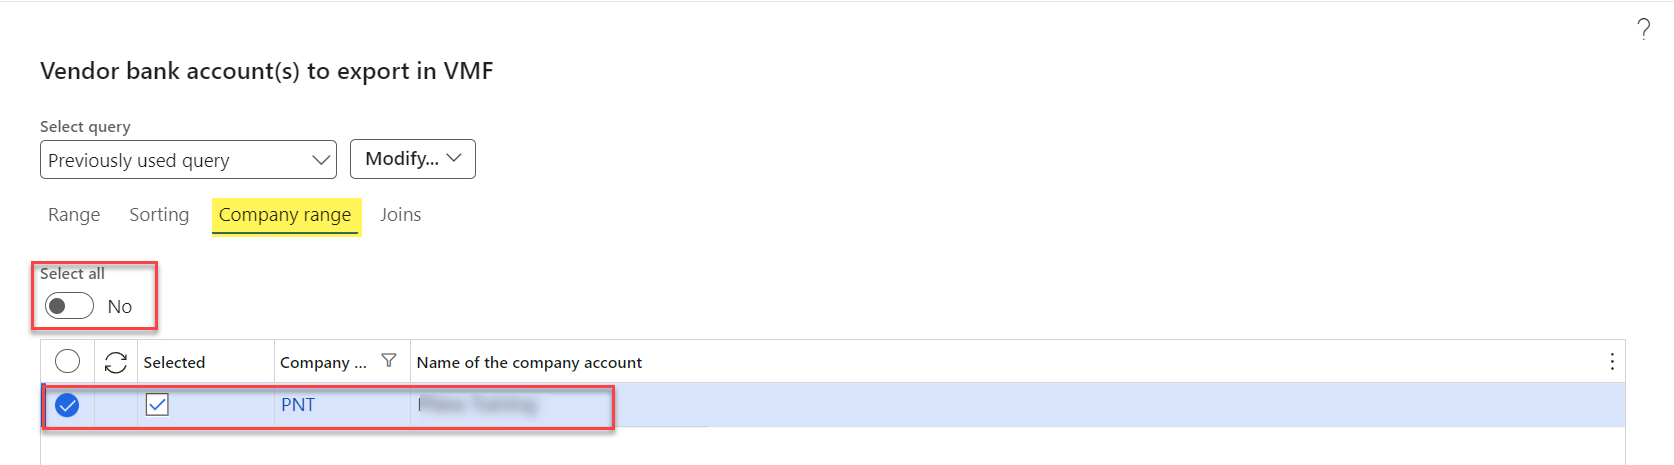
Excluding suppliers from export
At this stage, the data package is designed to export all suppliers from the current legal entity. If, for any reasons, multiple suppliers


Make sure to apply the same filter to both entities to avoid discrepancies.
Export data package

Hit the download package button to download the resulting export in a zip file.
Repeat these last steps for each legal entity that needs to be verified by Eftsure.
Be sure to rename the output file to include legal entity name for each file, for example:
[CustomerName]_SupplierInformation_Entity_[XXX].zip
[CustomerName]_SupplierInformation_Entity_[YYY].zip
[CustomerName]_SupplierInformation_Entity_[ZZZ].zip
Upload VMF
Go to your Eftsure Live portal
In the top right corner, select the drop down button and select Company setup:
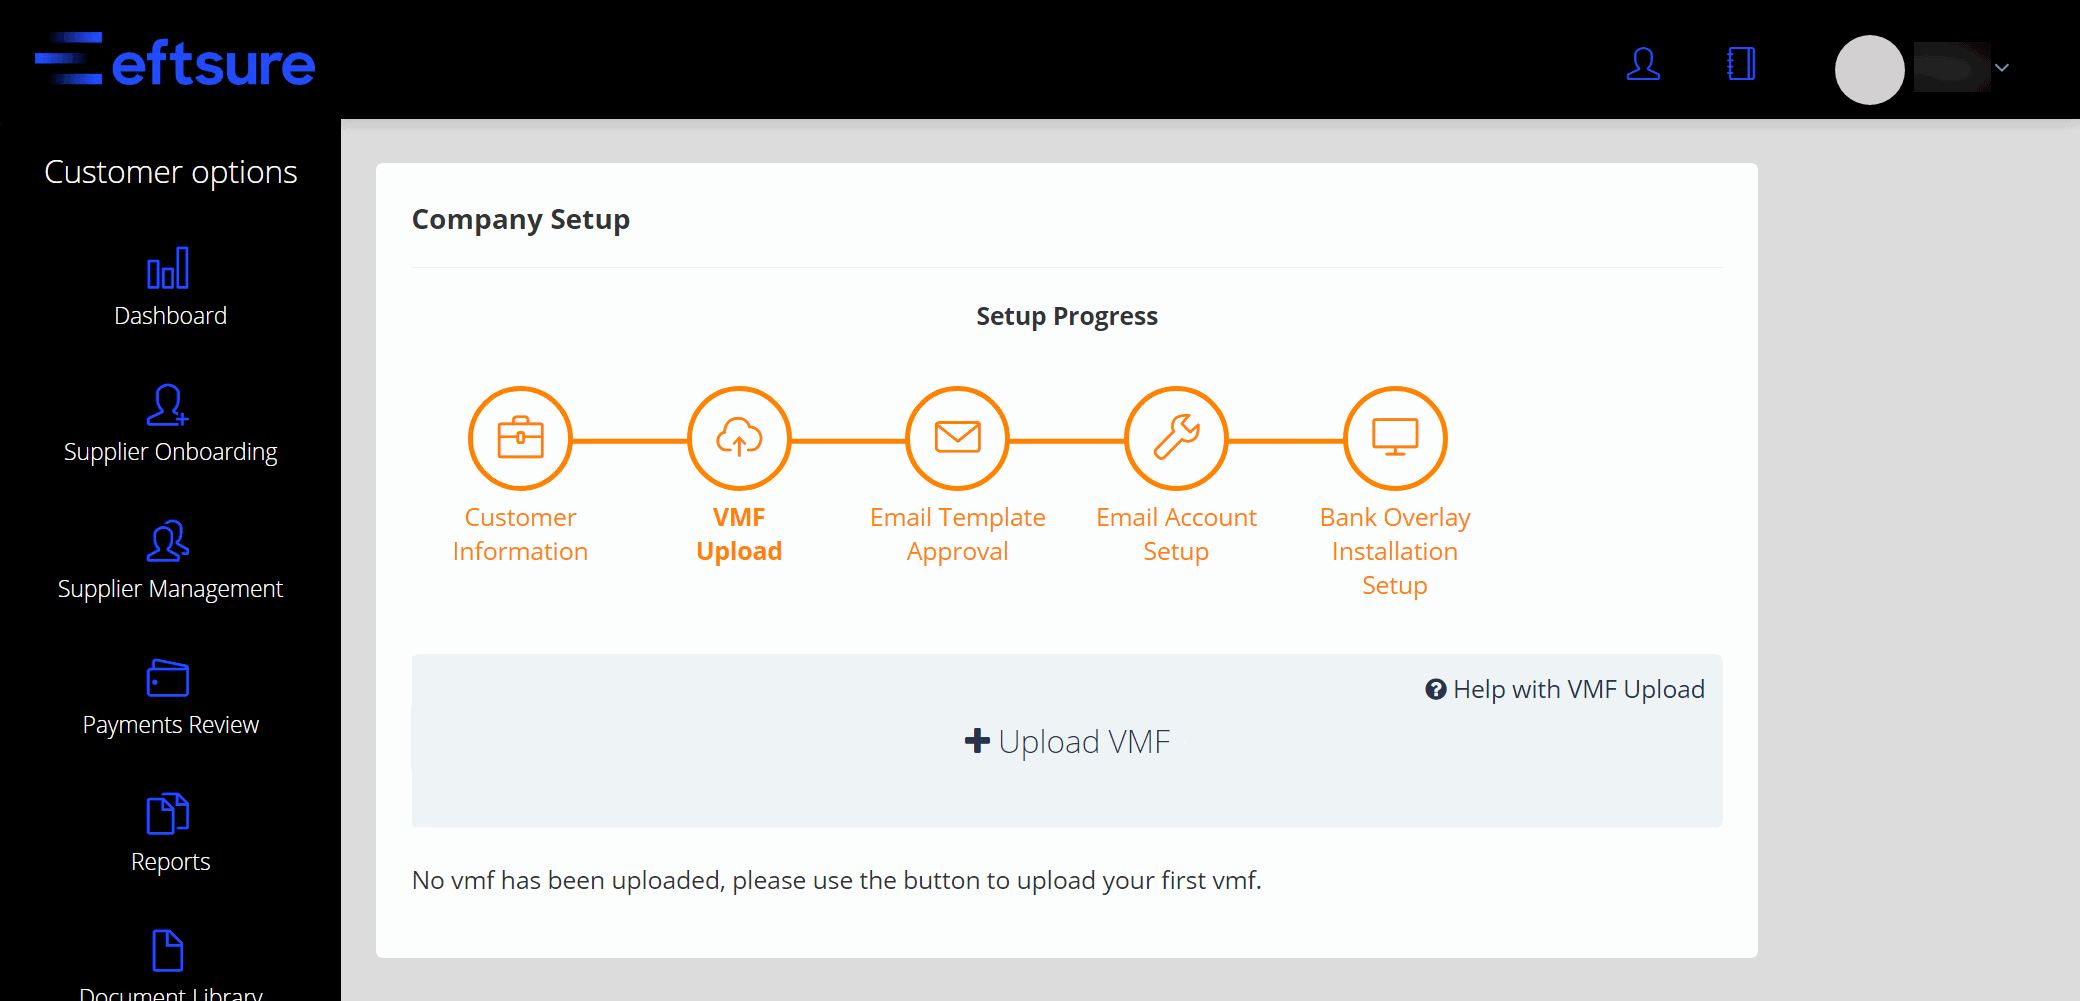
Upload the resulting files from the previous steps.